Installing Jekyll on macOS: building a personal blog
After updating my Windows Jekyll guide, I also set up the environment again on my Mac. Here is the complete process, for anyone working on their own blog.
This guide assumes the zsh terminal, the macOS default, and uses rbenv to manage Ruby versions, avoiding permission and compatibility issues with the system Ruby.
Step 1: prepare the environment
1. Install Homebrew, if needed
/bin/bash -c "$(curl -fsSL https://raw.githubusercontent.com/Homebrew/install/HEAD/install.sh)"After installation, follow the instructions to add brew to PATH. Then reopen the terminal or run source ~/.zshrc。
2. Install rbenv and ruby-build
brew update
brew install rbenv ruby-build
3. Initialize rbenv for zsh
echo 'eval "$(rbenv init - zsh)"' >> ~/.zshrc
source ~/.zshrc
Step 2: install Ruby and Jekyll
1. Install a recent Ruby version; this example uses 3.3.5
rbenv install 3.3.5
rbenv global 3.3.5
ruby -v
2. Install Bundler and Jekyll
gem install bundler jekyllStep 3: install project dependencies and start the site
Run these commands from the root of your blog:
bundle install
bundle exec jekyll serve
Once the server starts successfully, open this address in your browser:
http://127.0.0.1:4000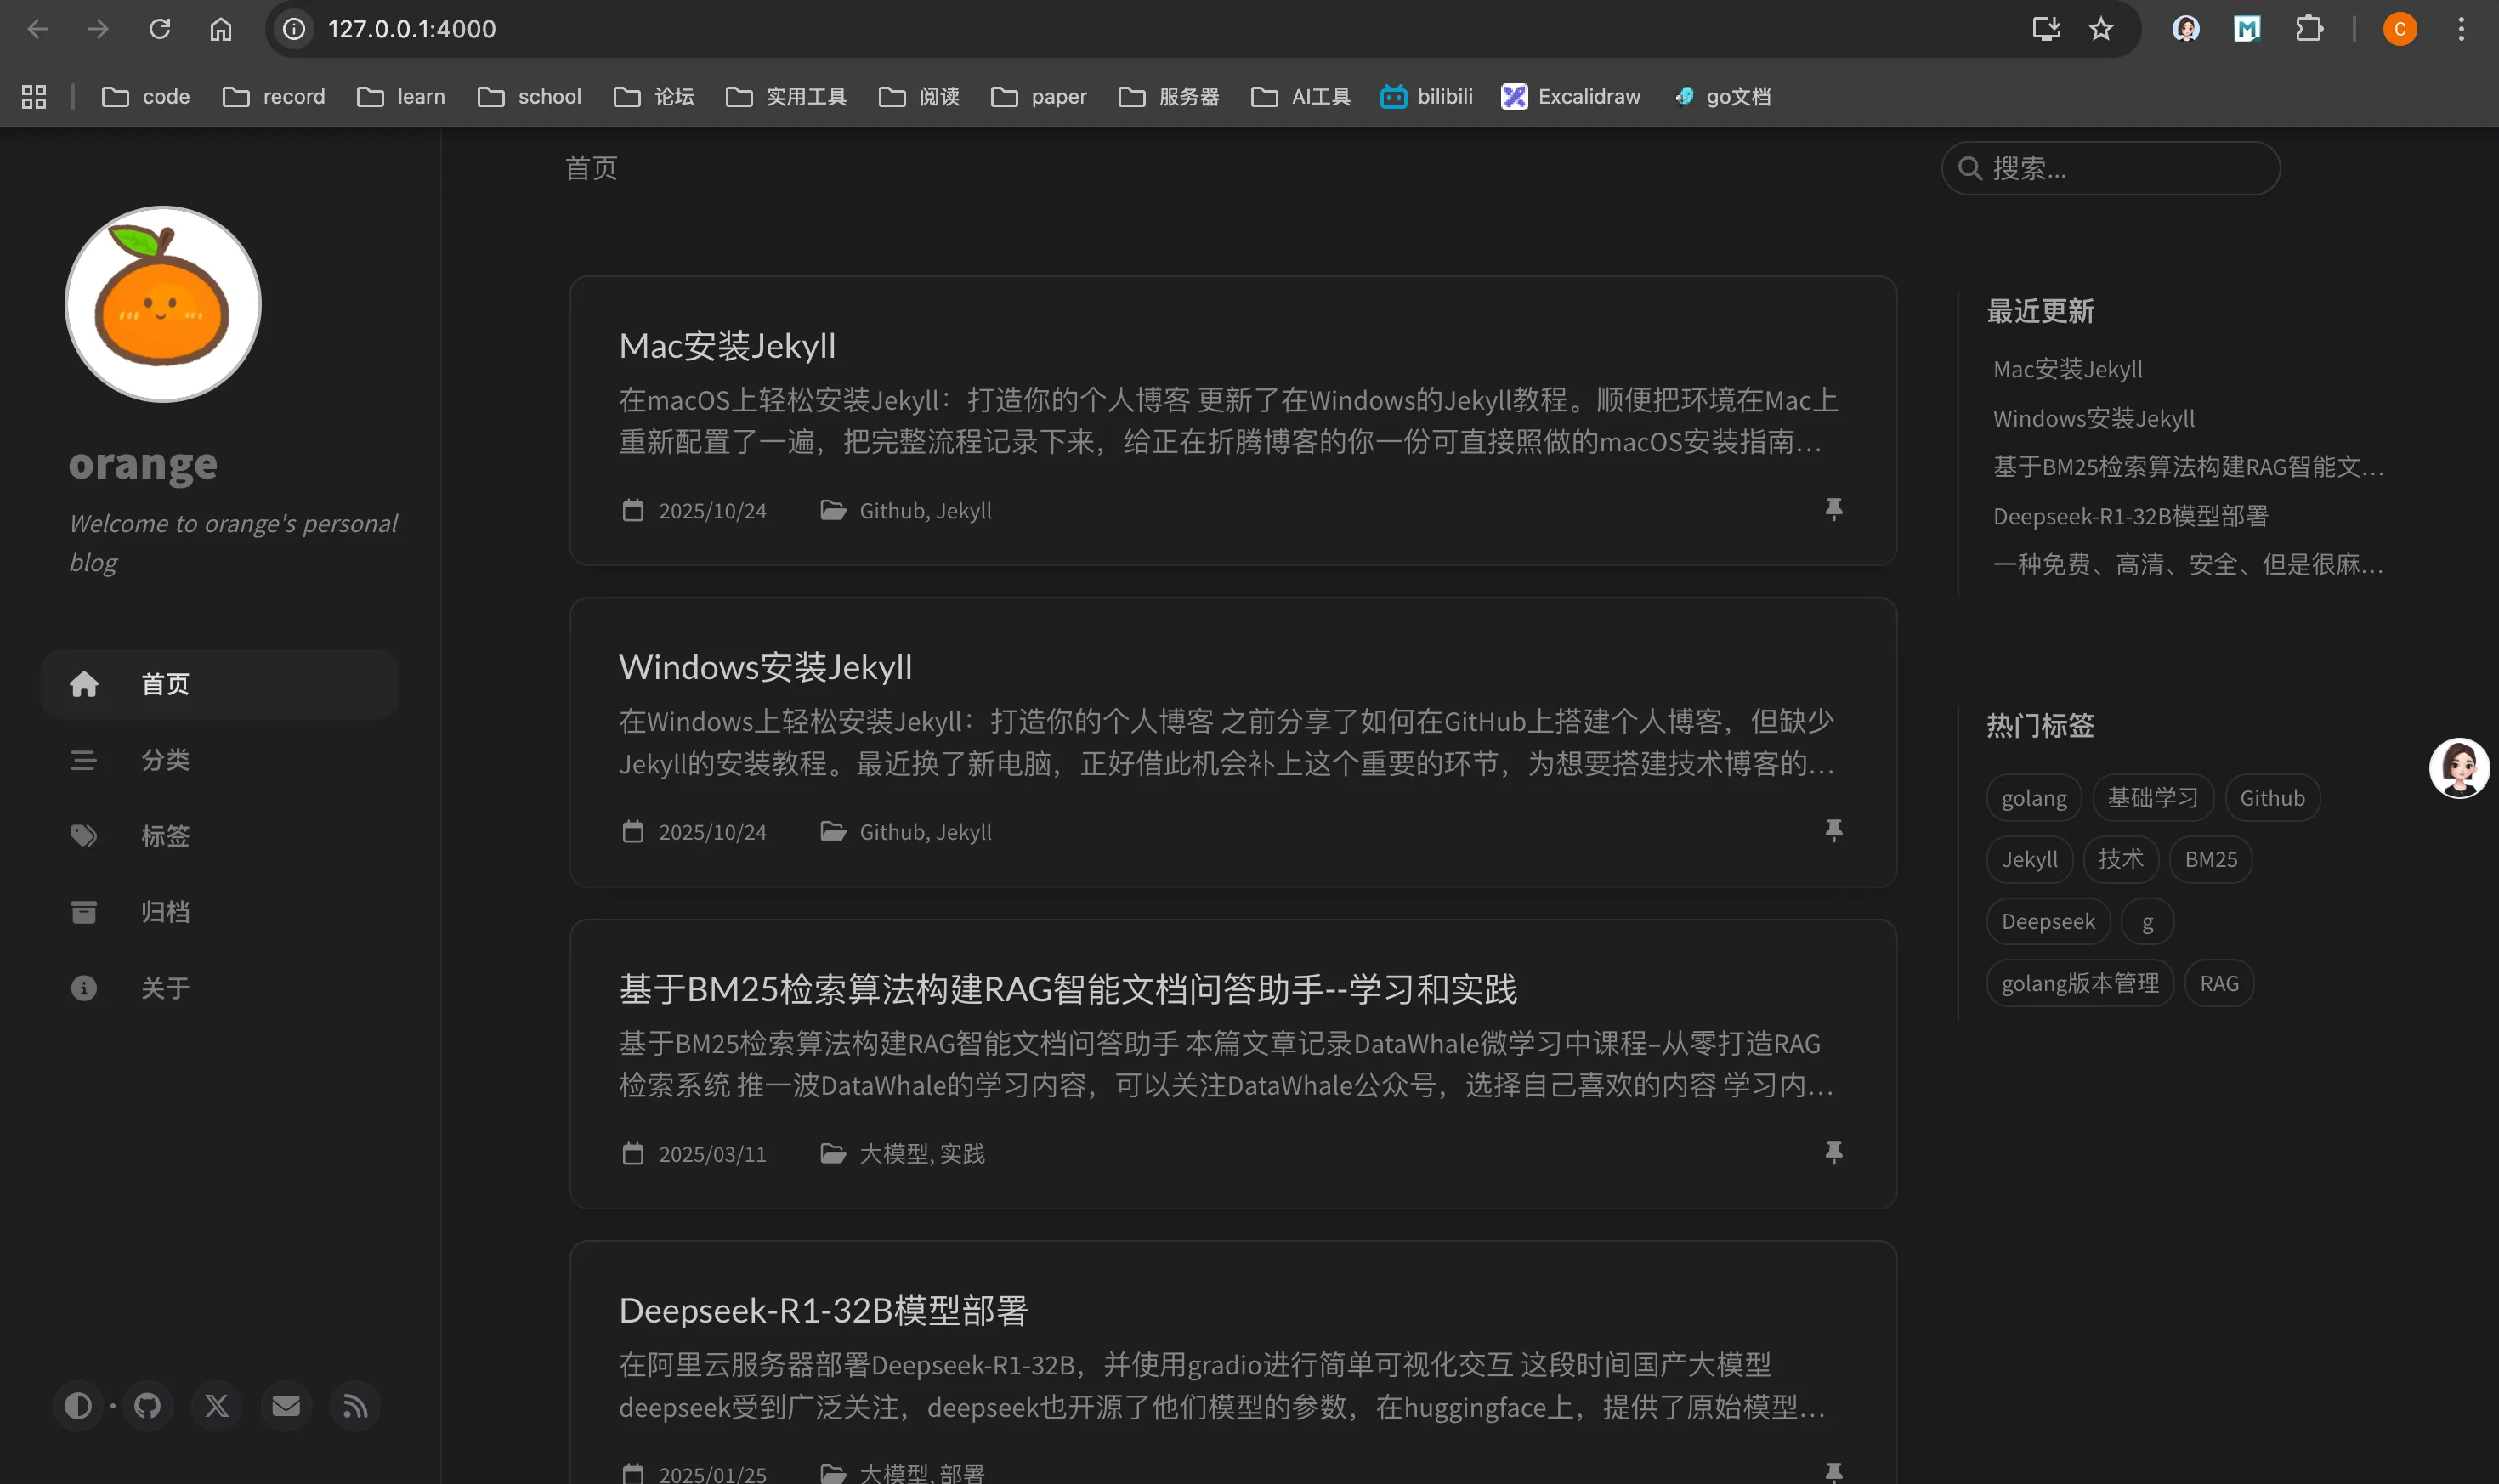
Installation complete! 🎉
You have now installed and started Jekyll on macOS. Next, adjust the theme and settings in _config.yml, write articles in _posts, and use bundle exec jekyll build to generate static files for deployment.